Archive

How to Activate our FREE SSL in our Plesk Windows Hosting?

What is SSL?

SSL (Secure Sockets Layer) is a standard security protocol for establishing encrypted links between a web server and a browser in online communication.

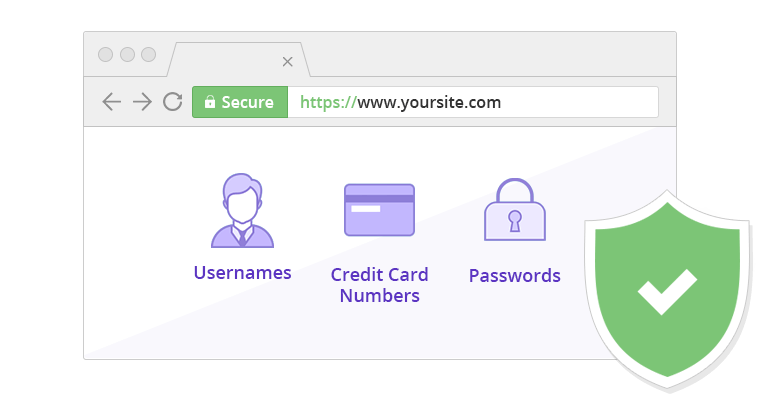
Secure Sockets Layer (SSL) is a security protocol that creates an encrypted link between a web server and a web browser. It ensures that all transferred data remains confidential.The green sign means the site is protected by SSL. It will protect you from data breaches, and it gives visitors a good reason to trust you with sensitive information. It improves your rankings in search results.

HOW TO ACTIVATE OUR FREE SSL IN OUR PLESK WINDOWS HOSTING?

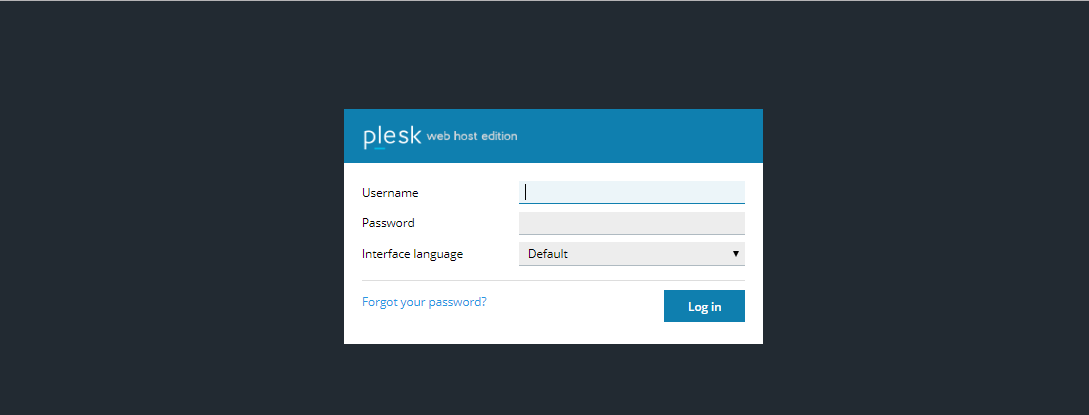
Step 1: Log in to the Plesk Panel
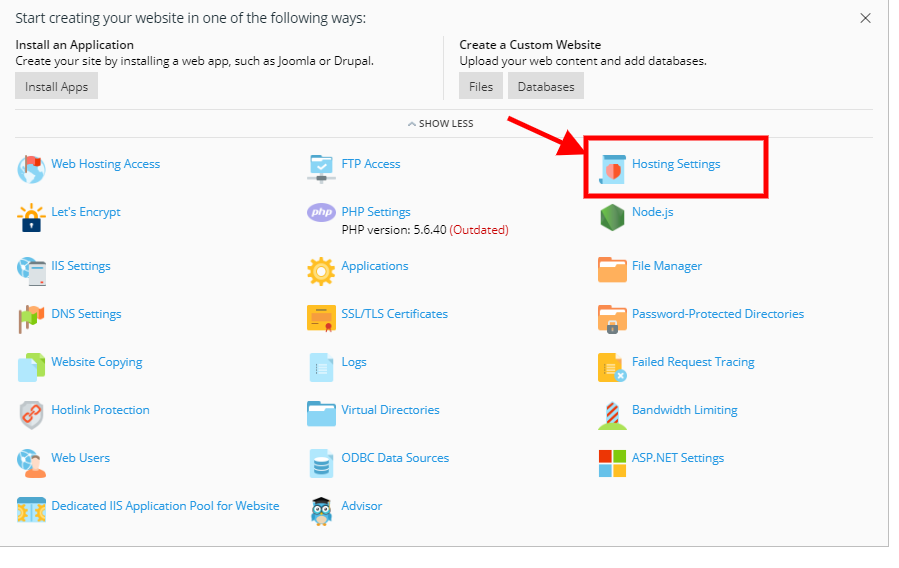
Step 2: Once you have a login to the panel you will see all the following features as displayed in the image. Click on the Hosting Settings
Step 3: Once Page is opened Tick on both checkboxes “SSL/TLS Support” & “Permanent SEO-safe 301 redirect HTTP to

Step 4: And Click on SAVE

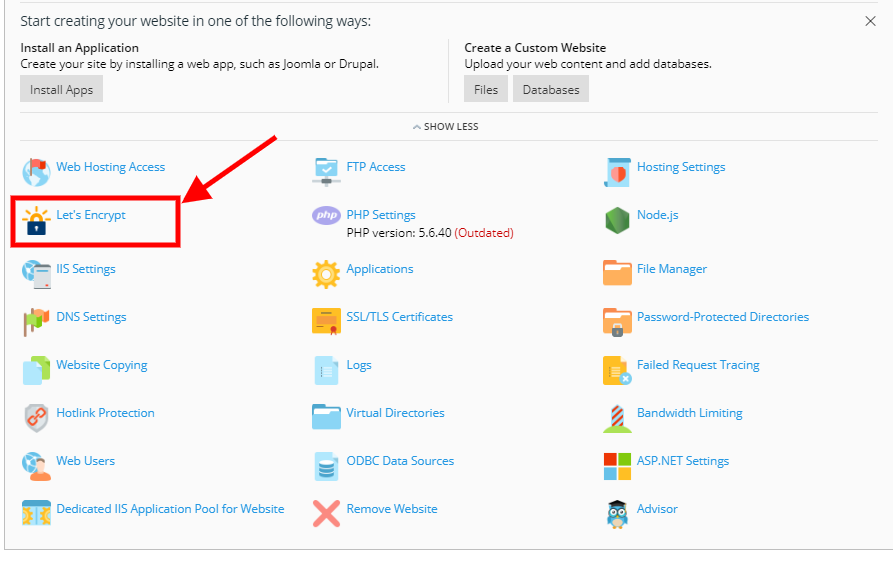
Step 5: Then Go to Menu “Let’s Encrypt”
Step 6: Enter your Email ID, tick the checkbox “Include www”
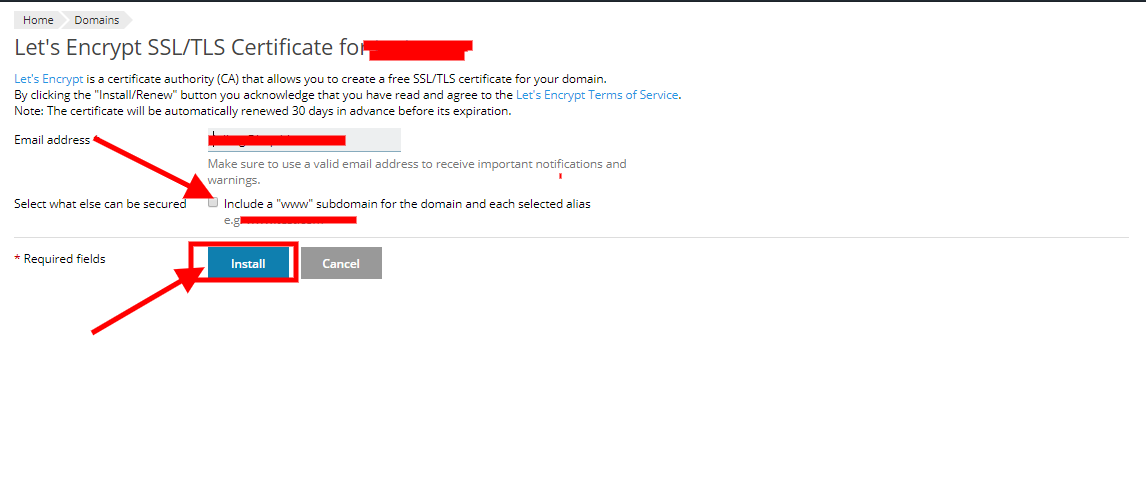
Step 7: And Click on Install => Continue/Reload

Step 8: Congratulations your SSL is active. Please try opening your domain in a private window.

How to Activate our FREE SSL in our Plesk Linux Hosting?

What is SSL?

SSL (Secure Sockets Layer) is a standard security protocol for establishing encrypted links between a web server and a browser in online communication.

Secure Sockets Layer (SSL) is a security protocol that creates an encrypted link between a web server and a web browser. It ensures that all transferred data remains confidential.The green sign means the site is protected by SSL. It will protect you from data breaches, and it gives visitors a good reason to trust you with sensitive information. It improves your rankings in search results.

HOW TO ACTIVATE OUR FREE SSL IN OUR PLESK LINUX HOSTING?

Step 1: Log in to the Plesk Panel

Step 2: Once you have a login to the panel you will see all the following features as displayed in the image. Click on the Hosting Settings

Step 3: Once Page is opened Tick on both checkboxes “SSL/TLS Support” & “Permanent SEO-safe 301 redirect HTTP to

Step 4: And Click on SAVE

Step 5: Then Go to Menu “Let’s Encrypt”

Step 6: Enter your Email ID, tick the checkbox “Include www”
Step 7: And Click on Install => Continue/Reload

Step 8: Congratulations your SSL is active. Please try opening your domain in a private window.